Introduction
In this post, we'll be building a simple RESTful API using Python and Flask. We'll do it by using the serverless framework and AWS Lambda. But before we start building the API, we'll first discuss some of the commonly asked questions about Python and the serverless framework.
What Is the Serverless Framework?
The serverless framework allows you to deploy and maintain applications without worrying about scaling and writing complex server logic. This allows you to focus on developing, deploying, and troubleshooting your application, leaving the rest to your cloud provider. (Here, as mentioned, we'll be using AWS Lambda).
Why Use the Serverless Framework?
A serverless framework allows you to develop applications without worrying about scaling and allocating resources to your application, as the cloud service providers take care of allocation and scaling requirements. This will enable you to focus on improving your application.
The serverless framework is a library written in Node.js, allowing you to build serverless applications on AWS Lambda. A serverless framework simplifies building and deploying applications on AWS Lambda. The AWS Lambda console editor allows for uploading up to 3 MB of code to the Lambda environment, but with the serverless framework, you can upload up to 250 MB of uncompressed data including layers (a 50 MB zipped file). The serverless framework packages your code and uploads it to the AWS Lambda environment.
What Is the Serverless-Python-Requirements Plugin?
The serverless-python-requirements plugin will install the required Python packages in the serverless environment from requirement.txt when you deploy the serverless code on AWS Lambda.
How Does Serverless-Python-Requirements Work?
The serverless-python-requirements plugin runs when you deploy your code using the serverless framework. The plugin installs the required dependencies from requirement.txt to the Lambda runtime environment.
What Is DockerizePip?
DockerizePip allows you to import non-Python code or packages that are exclusive to Linux on non-Linux operating systems by adding your code to a Docker container using the docker-lambda image. We'll go more into dockerizePip later in the post.
Setting Up the Serverless Framework
Before we install the serverless-python-requirements plugin, if the serverless framework is not installed in your system, then you can install it by using the following command:
npm install -g serverless
This will install the serverless framework on your system. Then you'll create a service from the Flask API template. You'll do this by running 'SLS' or 'serverless' on the terminal. You will then get options to choose a template, so choose the Flask API template. This will install the Flask API template on your system.
Now the console will prompt you to create a serverless account. You can sign up with GitHub or Google. After signing up, you will be prompted to connect to your AWS account. After clicking yes, you should see a screen like the below:
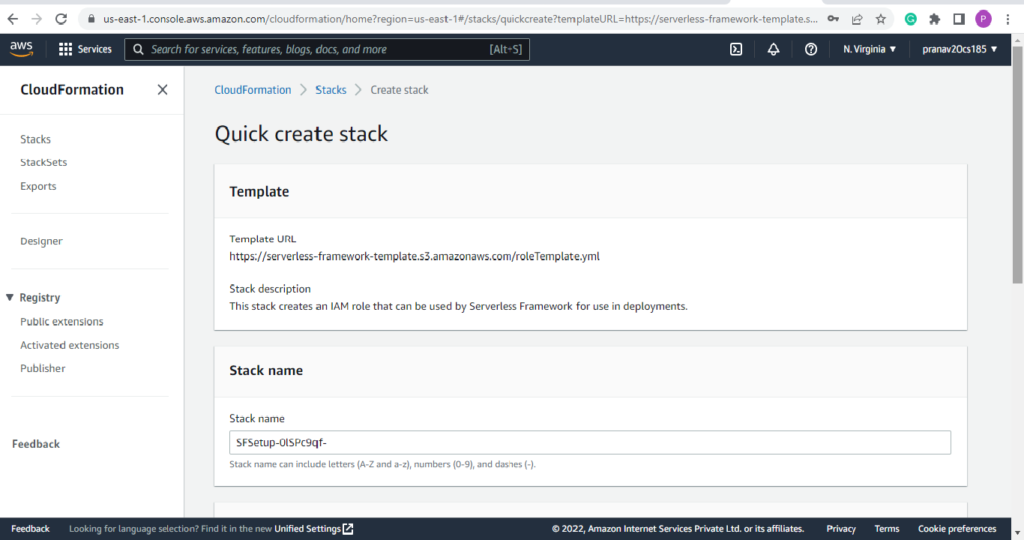
You have to first agree to the terms and conditions. Then click on "create the stack." You will then see a page like this:
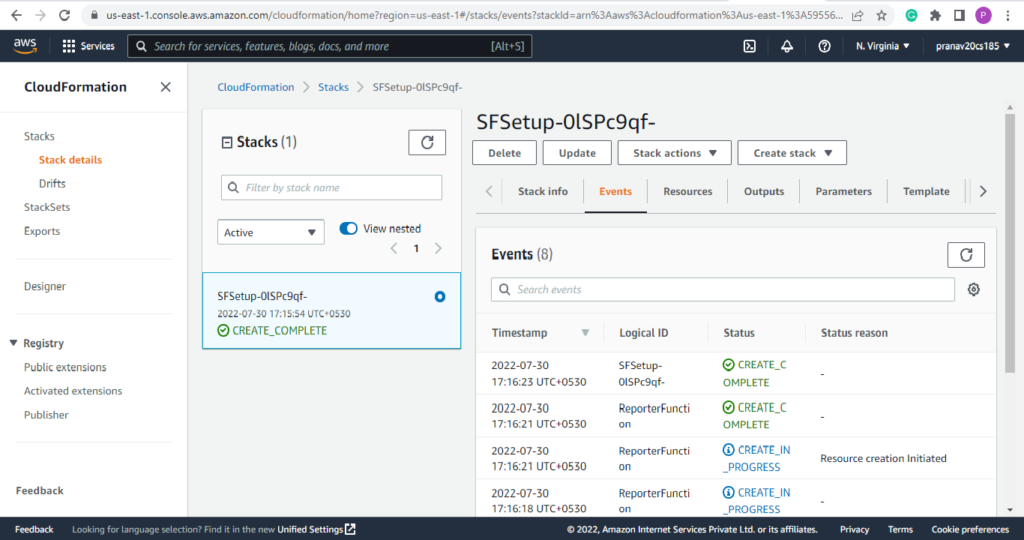
Once the setup is complete, you can see the confirmation on your serverless account. It should look something like this:
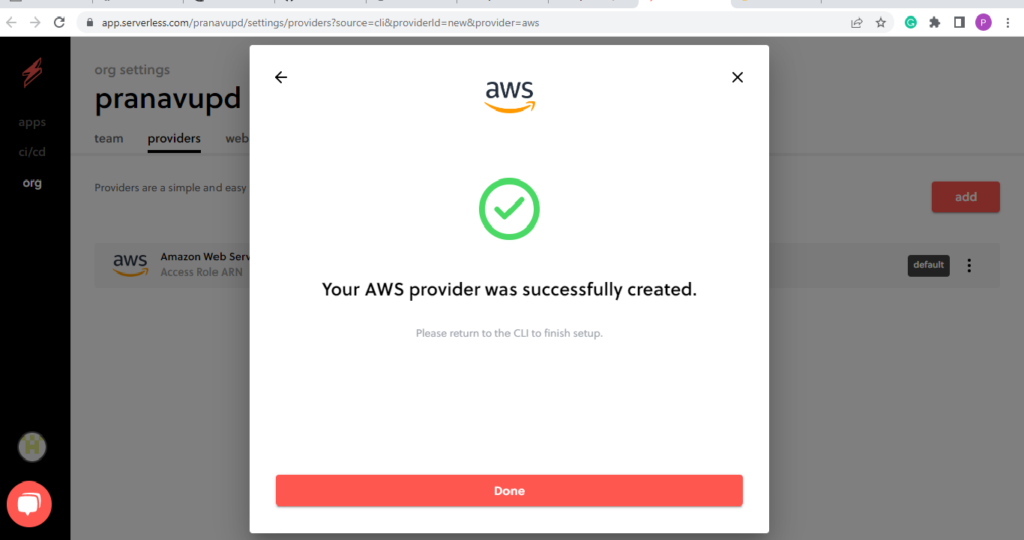
Now choose the subdirectory "quotes-API" that was created for us. Then you'll go on to write the API by editing the app.py.
Writing Our Serverless Flask API
Here, we'll edit the app.py to write our API that generates quotes on demand. The code for the quotes-API is below. You can also grab it here.
from flask import Flask, render_template
import random
app = Flask(__name__)
quotes_dict = {
"quotes": [
{
"quote":"Life isn’t about getting and having, it’s about giving and being.","author":"Kevin Kruse"},
{
"quote":"Whatever the mind of man can conceive and believe, it can achieve.","author":"Napoleon Hill"},
#More quotes here - https://gist.github.com/nasrulhazim/54b659e43b1035215cd0ba1d4577ee80
]
}
@app.route('/')
def quotes_index():
random_index = random.randrange(0, 100)
return quotes_dict["quotes"][random_index]
@app.route('/all')
def quotes_all():
return quotes_dict
if __name__ == '__main__':
app.run('0.0.0.0')
The above code selects a quote from random and displays it in the '/' route of the endpoint, and then the '/all' route displays the complete list of quotes inside the "quotes" object. It is a relatively straightforward API.
Next, we'll configure the serverless.yml to allow it to run on non-Linux OSes by using dockerizePip. But before that, let's discuss the serverless-python-requirements and serverless-wsgi packages, which come with the installation of the Flask API serverless template.
Serverless-Python-Requirements
You can see in your package.json and serverless.yml that the serverless-python-requirements plugin has been added. The serverless-python-requirements plugin automatically adds the dependencies specified in your requirements.txt when you run the below code:
serverless deploy
When you create your requirements.txt using this code:
pip3 freeze > requirements.txt
You can see the requirement.txt with the Flask dependencies is already present in your quotes-API, then you see that serverless-python-requirements will install the dependencies when you deploy the application to AWS.
Serverless-WSGI
Serverless-WSGI is a plugin from the serverless framework that runs applications that use Python-based web-server-gateway-interface libraries like Flask and Django in the serverless environment. You can use it to build rich web applications as well as APIs that can interact with front-end applications.
It converts API Gateway and AWS load balancer (ALB) requests to WSGI requests that the application can handle. It's compatible with API Gateway v1 and API Gateway v2.
Working With DockerizePip
When we try and run Linux-based Python wheel files on non-Linux operating systems, it gives us an error. To prevent that, we can run the Python file in a Dockerized environment on non-Linux environments. To configure this, we have to add the following to the 'serverless.yml':
custom:
pythonRequirements:
dockerizePip: true
dockerImage: docker-lambda:tag
This sets the dockerizePip option to true with the docker-lambda image, which is the default Docker image in the AWS Lambda environment. Now our program will run on non-Linux OSes as well.
Pipenv Support
If you choose to use a virtual environment (venv) for running your Flask API, then you can install the dependencies by running the following:
custom:
pythonRequirements:
dockerizePip: true
dockerImage: docker-lambda:tag
Use the Pipfile instead of requirements.txt. You can automatically generate the Pipfile by setting the usePipenv option to true. You can do this by adding the following code:
usePipenv: true
Add the above to your custom configuration under python requirements in the serverless.yml file.
Alternatively, you can disable it by setting the option to false:
usePipenv:false
Now our custom configuration in the serverless.yml file looks something like this:
custom:
pythonRequirements:
dockerizePip: true
dockerImage: docker-lambda:tag
usePipenv: false
Dealing with Large Dependencies
For larger projects, you can fetch the artifacts (packages) by storing them on AWS S3, which can later be retrieved from the S3 bucket using the serverless framework. The serverless framework creates and manages your S3 bucket. You can specify the S3 URI by adding the following in your serverless.yml file:
package:
artifact: s3://path/to/service-artifact.zip
Deploy Your API
Now you can finally deploy your application to AWS Lambda. You can do this by running this command:
serverless deploy
This will deploy your code to AWS Lambda. You can see the dependencies being installed and updated in the Lambda environment. Your terminal should look somewhat like this after your code is successfully deployed:
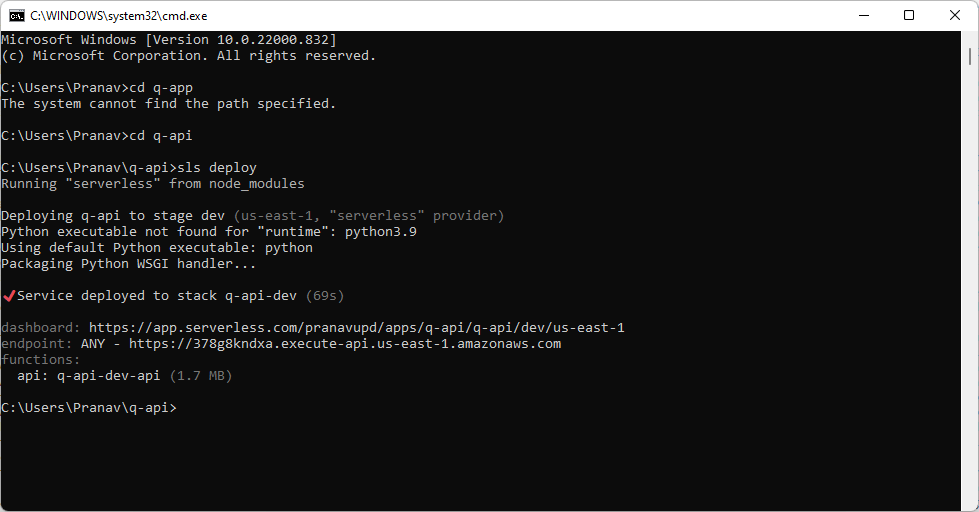
You can see your dashboard and your API endpoint. Now ,after pasting the API endpoint URL to the browser, you can see the quotes being generated at random:
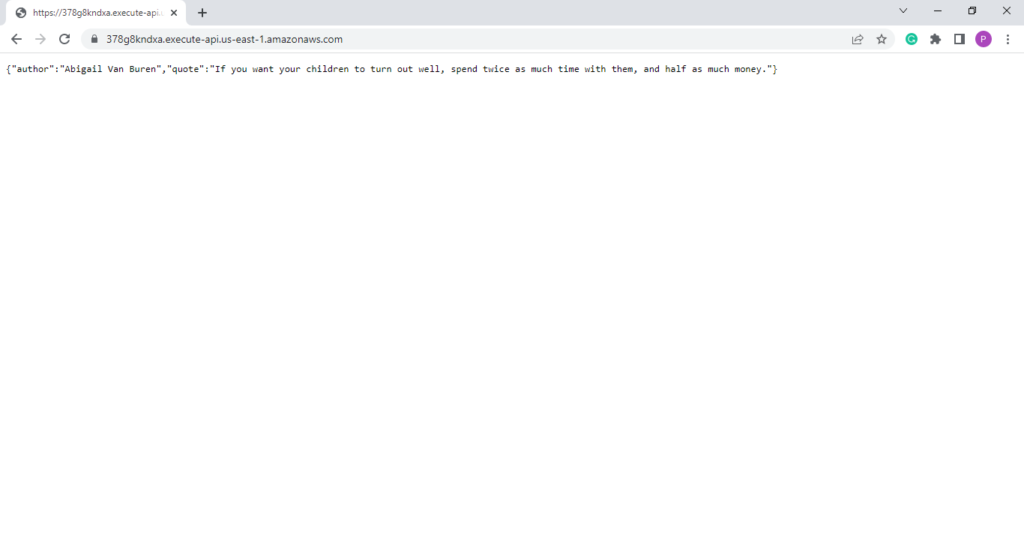
Hence, you can see our serverless API successfully running on AWS Lambda.
In case you want to remove the application from AWS Lambda, you can use this command:
serverless remove
This will remove your API and its dependencies on Lambda and your local system as well.
Conclusion
In this post, we went through the serverless framework and how the serverless-python-requirements and the serverless-wsgi plugins work. We then wrote a simple API in the Flask framework, and then we deployed the application to the AWS Lambda environment. Then we covered DockerizePip, initializing pipenv, and dealing with large dependencies. Finally, we deployed the serverless code to AWS Lambda, and we saw that the endpoint was working as required. Lastly, we also saw how we can remove an API from being deployed.
Comments
Post a Comment